Automations
Run AI agents on a schedule or via webhooks.
Automations
Schedule your playbooks to run automatically - daily reports, weekly summaries, or triggered by external events.
Creating an automation
- Open a playbook in ToolPlex Desktop
- Click the Automate button at the bottom
- Follow the 4-step wizard
Step 1: Task
- Name your automation (auto-filled from playbook name)
- Choose a model - defaults to ToolPlex managed models
- Add instructions (optional) - extra context for the AI
Step 2: Schedule
Choose when it runs:
Run once - Pick a specific date and time
Daily - Every day at a set time
Weekly - Select which days (e.g., weekdays at 9am)
Monthly - Pick a day of the month (1-28)
Custom - Every X minutes, hours, or days
Webhook - Triggered by external HTTP requests (see Webhooks)
All schedules support timezone selection.
Step 3: Oversight
Optional settings:
- Notifications - Get updates when the automation runs
- Approvals - Require human sign-off before the AI acts
Add team members as recipients for either.
Step 4: Review
Confirm your settings and click Create Automation.
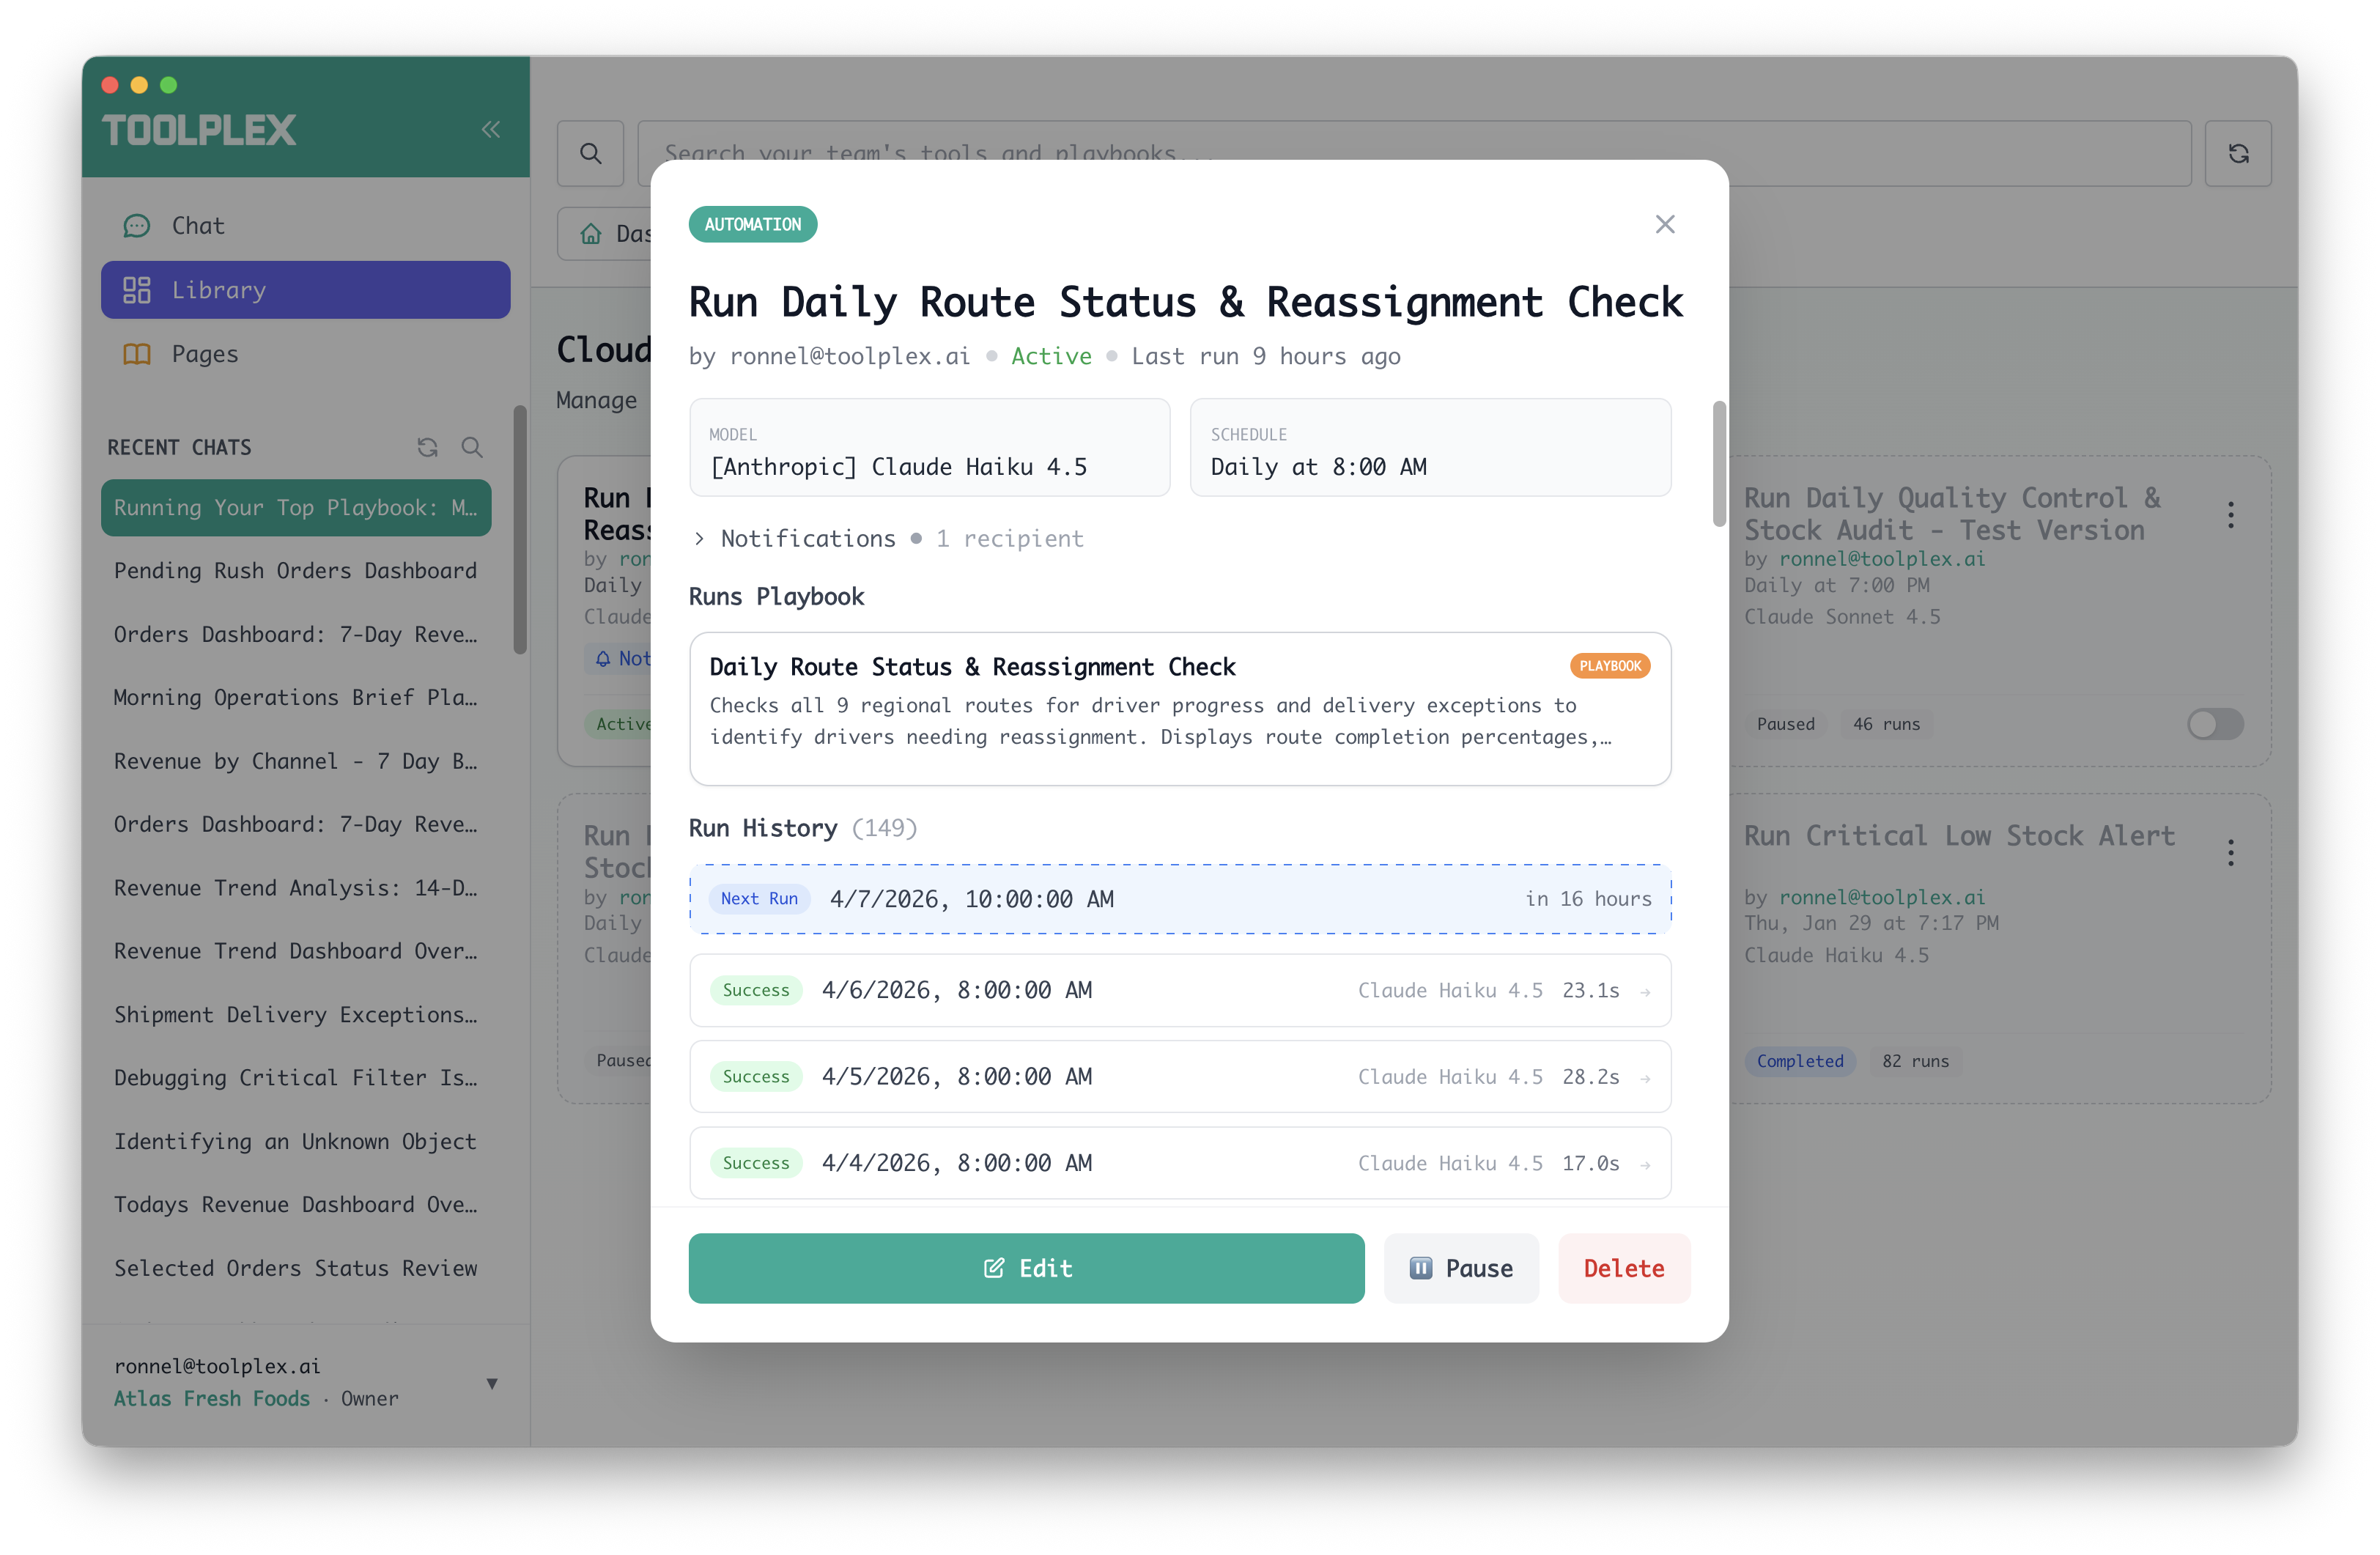
Managing automations
Find all your automations in the Automations panel in the sidebar.
Each card shows:
- Schedule (human-readable)
- Status: Active, Paused, or Completed
- Run count
- Toggle to enable/disable
Click the ⋮ menu to edit, delete, or view run history.
Checking run history
Click on any automation to see its Run history - every execution with status, duration, and full logs.
If something failed, you can see exactly what happened.